Introduction to Birthstone Crafts
As a mom of three craft-loving kids, I’ve discovered that birthstone crafts are the perfect way to personalize creative projects while teaching children about gemstones and their significance. When my daughter turned seven, we hosted a birthstone-themed birthday party, and I was amazed at how engaged all the children were in creating personalized treasures representing their birth months.
What makes birthstone crafts so special is that they combine color theory, fine motor skills development, and a touch of personal meaning. Whether your child was born in January (garnet) or December (turquoise), there’s a beautiful color palette waiting to be explored through crafting.
I’ve compiled my family’s favorite birthstone projects that have been tested and approved by kids ranging from preschoolers to preteens. These crafts don’t require expensive materials—in fact, I’ve found most supplies at dollar stores or repurposed from items we already had at home.
1. Birthstone Bracelets
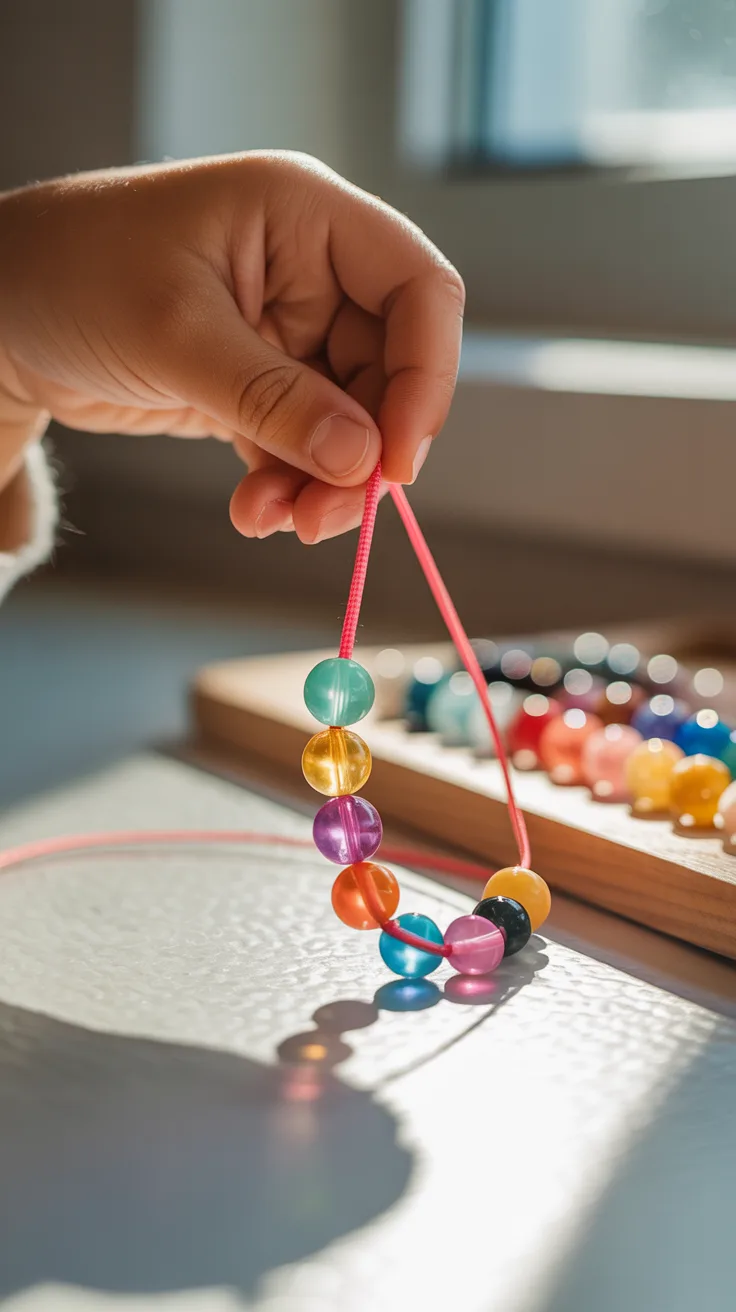
Birthstone bracelets were the first birthstone craft we ever tried, and they remain a favorite in our household. My kids love wearing their creations and often make extras as gifts for friends and family.
- Materials needed: Elastic cord, birthstone-colored beads, scissors, optional clasps
- Difficulty level: Easy to moderate
- Time required: 20-30 minutes
To create these bracelets, measure your child’s wrist and cut a piece of elastic cord about 2 inches longer than needed. Have them select beads in their birthstone color (we like to mix different shades and textures). For younger children, I recommend using a piece of tape to secure one end of the cord to the table to prevent beads from sliding off.
Pro Tip: Use a bead board with measured sections to help kids plan their design before stringing. This saved us from many “I don’t like this pattern” meltdowns halfway through!
2. Birthstone Keychains
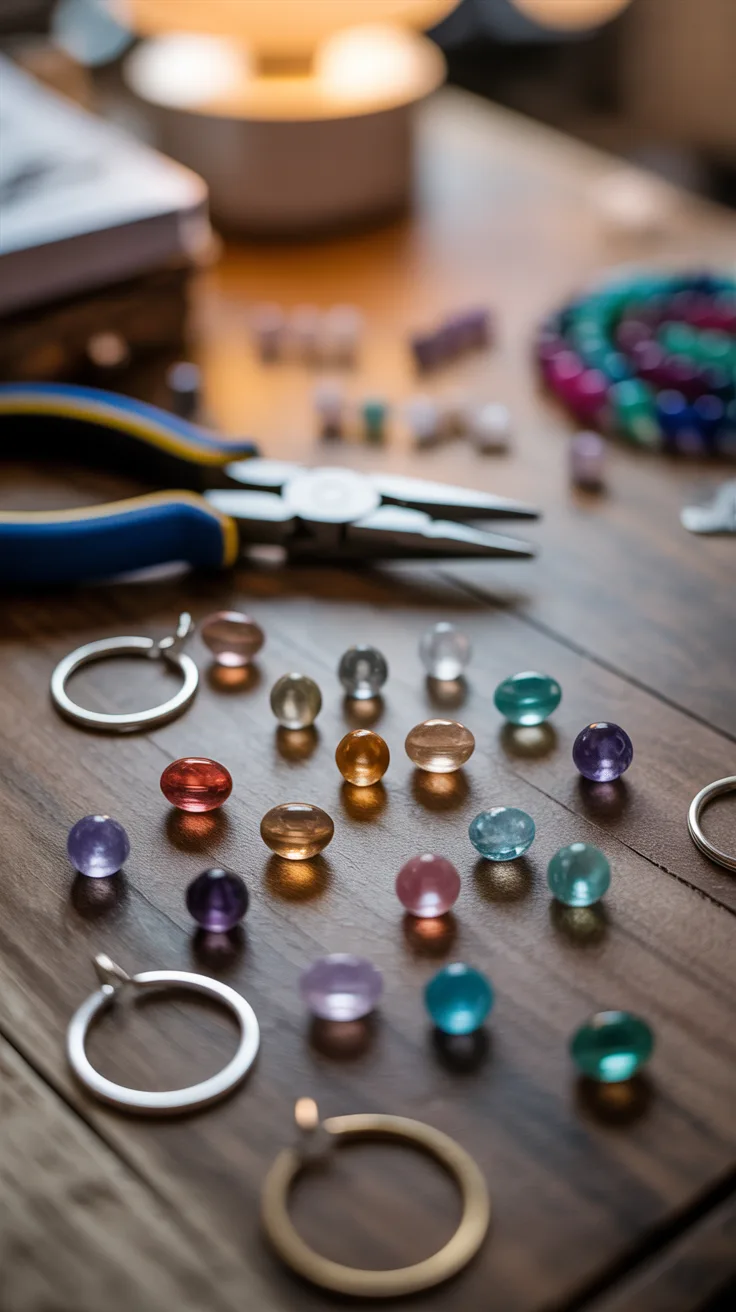
When my son entered second grade and got his first house key, we celebrated with a special birthstone keychain project. These make practical gifts that kids can actually use.
- Materials needed: Keychain rings, jump rings, birthstone-colored beads or charms, pliers
- Difficulty level: Moderate
- Time required: 15-20 minutes
Start by selecting a keychain ring and attaching a jump ring. Thread birthstone-colored beads onto head pins, create a loop at the top with pliers, and attach to the jump ring. For younger crafters, I found that using larger beads and pre-made charms makes this project more accessible.
My kids especially enjoyed adding letter beads to spell their names alongside their birthstone colors. The first time we made these, I tried to handle all the plier work myself, but I’ve since learned that with proper supervision, even 8-year-olds can manage this step.
3. Birthstone Suncatchers
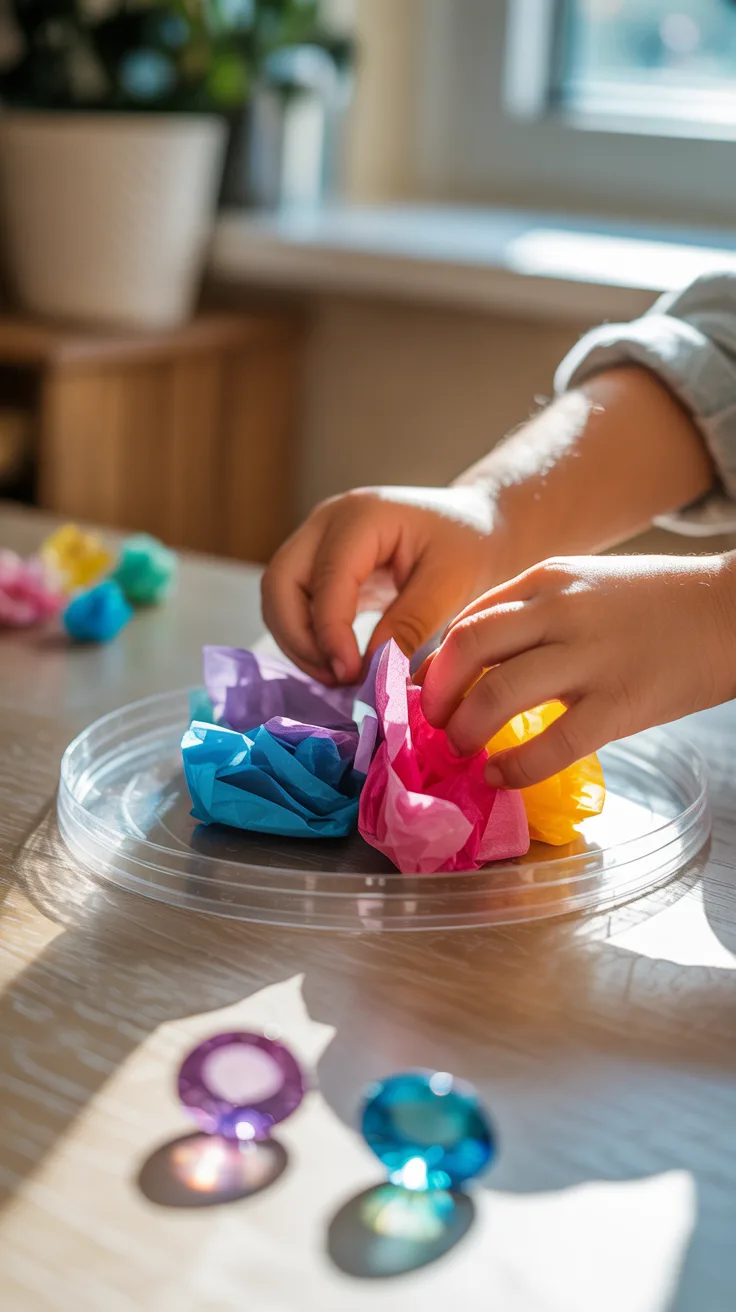
On a rainy weekend last spring, we discovered the magic of birthstone suncatchers. There’s something truly special about seeing sunlight filter through these colorful creations.
- Materials needed: Clear plastic lids or contact paper, tissue paper in birthstone colors, string, scissors, glue
- Difficulty level: Easy
- Time required: 30-45 minutes (plus drying time)
For our suncatchers, we repurposed clear plastic lids from food containers. Cut out the center, leaving a frame. Then cut tissue paper in your child’s birthstone color into small pieces. Spread glue on the frame and arrange the tissue paper pieces, overlapping slightly. Once dry, punch a hole at the top and thread string through for hanging.
Pro Tip: For a more crystalline effect, mix white glue with a few drops of food coloring in the birthstone shade and pour into cookie cutters placed on wax paper. Let dry completely (usually 24-48 hours) before removing.
4. Birthstone Painted Rocks
During a camping trip last summer, we collected smooth rocks and later transformed them into birthstone treasures. This has become our go-to outdoor activity that continues indoors.
- Materials needed: Smooth rocks, acrylic paint in birthstone colors, paintbrushes, sealer
- Difficulty level: Easy
- Time required: 20-30 minutes (plus drying time)
Begin by washing and drying your rocks. Apply a base coat of paint in your child’s birthstone color and let dry completely. Add details like dots, stripes, or simple patterns in complementary colors. For younger children, I found that using q-tips instead of brushes makes dot patterns easier to create. Once the paint is dry, apply a clear sealer to protect your creation.
My daughter’s April diamond-inspired rocks (painted in clear shimmer and white) became “magic wishing stones” that she keeps in a special pouch. The storytelling that emerged from this simple craft was an unexpected bonus!
5. Birthstone Magnets
Our refrigerator gallery started with a few birthstone magnets and has now expanded to a colorful display representing our entire extended family.
- Materials needed: Clear glass gems, birthstone color images or paper, strong glue, magnetic discs
- Difficulty level: Easy
- Time required: 15 minutes (plus drying time)
To create these magnets, cut circles from colored paper matching your child’s birthstone. Apply glue to the flat side of a clear glass gem and press onto the colored paper. Once dry, trim any excess paper and glue a magnetic disc to the back.
I learned the hard way that not all glues work equally well for this project. After our first batch fell apart, we switched to E6000 craft adhesive (with proper ventilation and adult supervision), which has proven much more durable.
6. Birthstone Bookmarks
As an avid reader, I was delighted when my kids embraced this practical craft that celebrates both their love of books and their birthstones.
- Materials needed: Cardstock, scissors, hole punch, ribbon, birthstone-colored markers or paint
- Difficulty level: Easy
- Time required: 20 minutes
Cut cardstock into rectangular bookmark shapes (approximately 2″ x 6″). Have your child decorate with their birthstone colors using markers, paints, or even collage materials. Punch a hole at the top and thread ribbon through to create a tassel. For added durability, laminate the bookmarks or cover with clear contact paper.
Pro Tip: Create a family set of bookmarks representing each family member’s birthstone. This has helped end the “that’s MY bookmark!” disputes in our household.
7. Birthstone Necklaces
When my youngest turned five, we graduated from bracelets to birthstone necklaces, which quickly became treasured accessories for special occasions.
- Materials needed: Necklace chain or cord, birthstone-colored beads or pendants, clasps, jump rings, pliers
- Difficulty level: Moderate
- Time required: 30 minutes
Select a chain or cord of appropriate length (I measure around my child’s neck and add 2 inches). Attach a jump ring to a birthstone-colored pendant or create a beaded pendant using wire and birthstone-colored beads. Thread the pendant onto the chain and attach clasps to each end.
For my son’s August peridot-inspired necklace, we used green glass beads strung on fishing line with a special dinosaur charm (his obsession at the time) painted in matching green. The personalization made this craft extra special.
8. Birthstone Candle Holders
These beautiful candle holders became our go-to gift for grandparents, combining the personal touch of birthstones with a practical home accent.
- Materials needed: Glass votive holders, tissue paper in birthstone colors, decoupage medium, brushes, tea lights
- Difficulty level: Easy to moderate
- Time required: 30 minutes (plus drying time)
Tear tissue paper in your child’s birthstone color into small pieces. Apply decoupage medium to the outside of a glass votive holder, then press tissue paper pieces onto the surface, overlapping slightly. Apply another layer of decoupage medium over the top and let dry completely. Place a battery-operated tea light inside (we avoid real candles for safety with kids’ crafts).
The first time we made these, I tried to achieve a perfectly smooth finish and got frustrated. Now I embrace the textured look that comes naturally when kids apply the tissue paper—it actually creates a more interesting light effect!
9. Birthstone Picture Frames
After accumulating too many plain wooden frames from craft stores, we transformed them into personalized birthstone frames that showcase special photos.
- Materials needed: Wooden picture frames, paint in birthstone colors, brushes, decorative gems or buttons
- Difficulty level: Easy
- Time required: 30-45 minutes (plus drying time)
Paint the wooden frame with acrylic paint in your child’s birthstone color. Once dry, decorate with buttons, gems, or stickers in complementary colors. Insert a favorite photo and display proudly!
My daughter’s October frame, painted in shimmering pink to represent tourmaline, holds her kindergarten photo and sits on her bedside table. She proudly tells visitors about her special “pink gem” frame whenever they notice it.
10. Birthstone Dreamcatchers
Our most ambitious birthstone craft project came after visiting a cultural festival where my children were fascinated by traditional dreamcatchers.
- Materials needed: Embroidery hoops, yarn in birthstone colors, beads, feathers, ribbon, scissors
- Difficulty level: Challenging
- Time required: 45-60 minutes
Wrap an embroidery hoop with ribbon or yarn in your child’s birthstone color. Create a web pattern by tying yarn across the hoop in different directions. Thread birthstone-colored beads onto the yarn at intersection points. Attach ribbons, yarn, and feathers to the bottom of the hoop to hang down.
Pro Tip: For younger children, pre-create the web pattern and let them focus on adding beads and decorative elements. This keeps the project manageable while still allowing for creativity.
I’ll admit that our first dreamcatcher attempt was a bit of a disaster, with tangled yarn and frustrated kids. We simplified the process for round two, and the results were much more successful