

10 Ways to Identify Valuable Rocks
Finding an unusual rock is exciting, but determining whether it has value requires more than appearance alone. Many common rocks closely resemble gemstones, precious minerals, and collectible specimens, making proper identification an essential skill for every rockhound.
Professional geologists and experienced collectors use a combination of physical tests rather than relying on color or guesswork. By examining hardness, streak, density, crystal structure, and other characteristics, it becomes much easier to distinguish ordinary rocks from specimens worth adding to a collection.

This guide covers ten practical ways to identify valuable rocks using simple techniques that can be performed in the field or at home. Most of these methods require only inexpensive tools, making them ideal for beginners and experienced collectors alike.
1. Learn the Three Main Rock Types
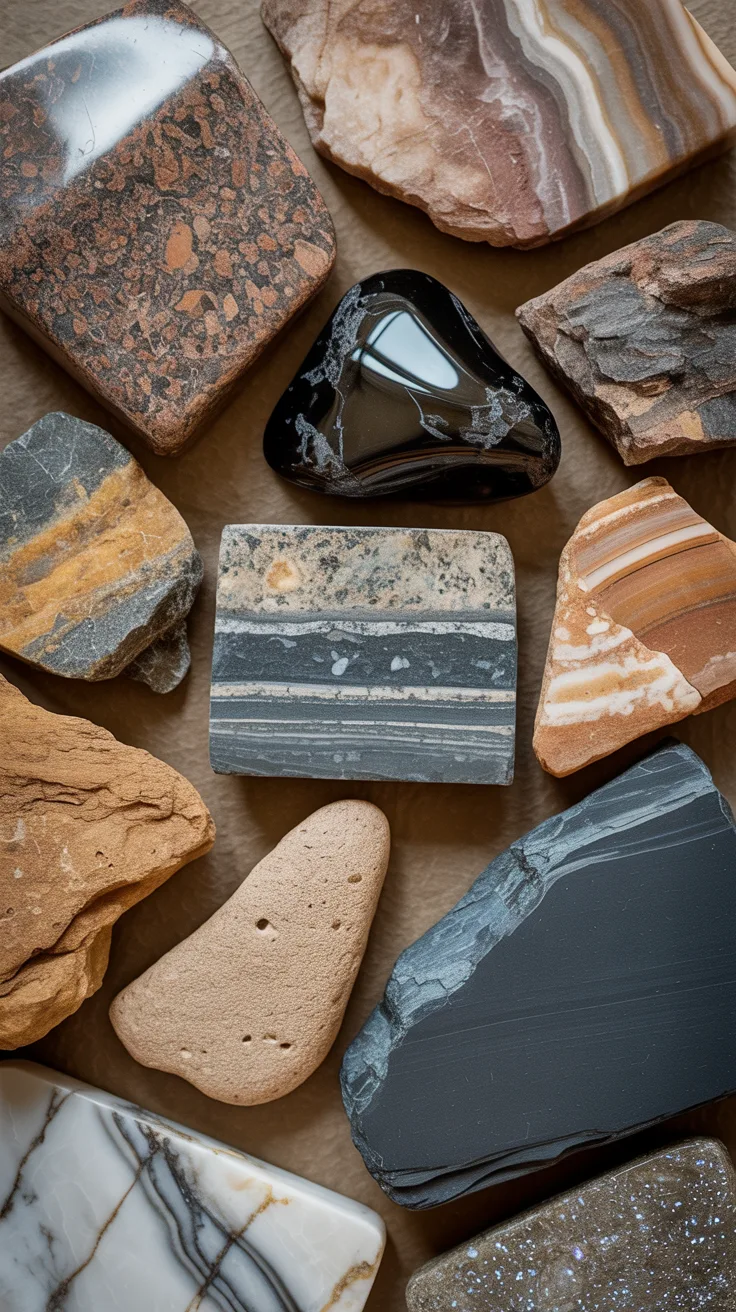
The first step in identifying valuable rocks is understanding how they formed. Every specimen belongs to one of three major rock groups, and knowing the category immediately narrows the list of possible minerals.
Igneous rocks form when magma or lava cools. Granite, obsidian, pegmatite, and basalt are common examples. Pegmatites are especially important because they often contain valuable minerals such as tourmaline, garnet, beryl, and quartz crystals.
Sedimentary rocks develop from compressed layers of sand, mud, shells, and organic material. Limestone, sandstone, and shale may contain fossils, geodes, or mineral deposits that are highly collectible.
Metamorphic rocks form when existing rocks are altered by heat and pressure. Marble, quartzite, schist, and gneiss frequently contain garnets, kyanite, staurolite, and other collectible minerals.
![Rocks and Minerals of the United States Identification Field Guide | Thick Waterproof Coating| Find Crystals, Gems, Geodes, and Rocks | Rockhounding ... Rock Chasing [Oct 12, 2024]](https://m.media-amazon.com/images/I/51e19yDKwRL._SL500_.jpg)
View on AmazonAs an Amazon Associate, I earn from qualifying purchases.

View on AmazonAs an Amazon Associate, I earn from qualifying purchases.
Before testing any specimen, identify which rock category it most closely resembles. This simple step eliminates many possibilities and makes later identification much easier.
2. Perform a Hardness Test

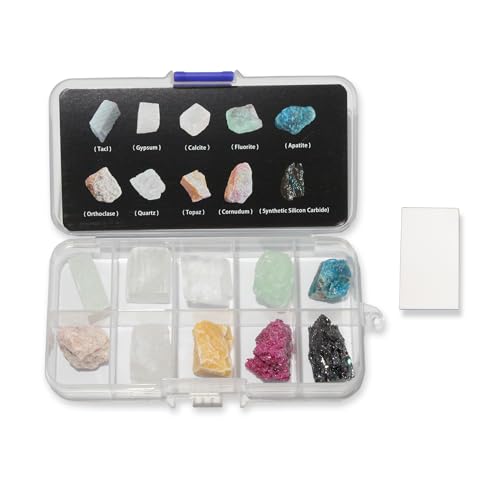
Hardness is one of the most reliable ways to identify minerals because every mineral has a consistent hardness on the Mohs scale.
Begin by testing the rock against common objects with known hardness values.
- Fingernail — 2.5
- Copper penny — 3.5
- Steel nail or pocket knife — 5.5
- Glass plate — approximately 5.5 to 6
- Quartz crystal — 7
If the rock scratches glass but cannot scratch quartz, it falls somewhere between hardness levels six and seven. That information immediately narrows the list of possible minerals.
Hardness alone does not determine value, but it eliminates many common rocks that beginners often mistake for gemstones.

View on AmazonAs an Amazon Associate, I earn from qualifying purchases.
View on AmazonAs an Amazon Associate, I earn from qualifying purchases.
A Mohs hardness testing kit makes field identification much more accurate.
Beginner Tip: Always test on a small hidden area so the specimen remains attractive for display or resale.
3. Check the Streak Color
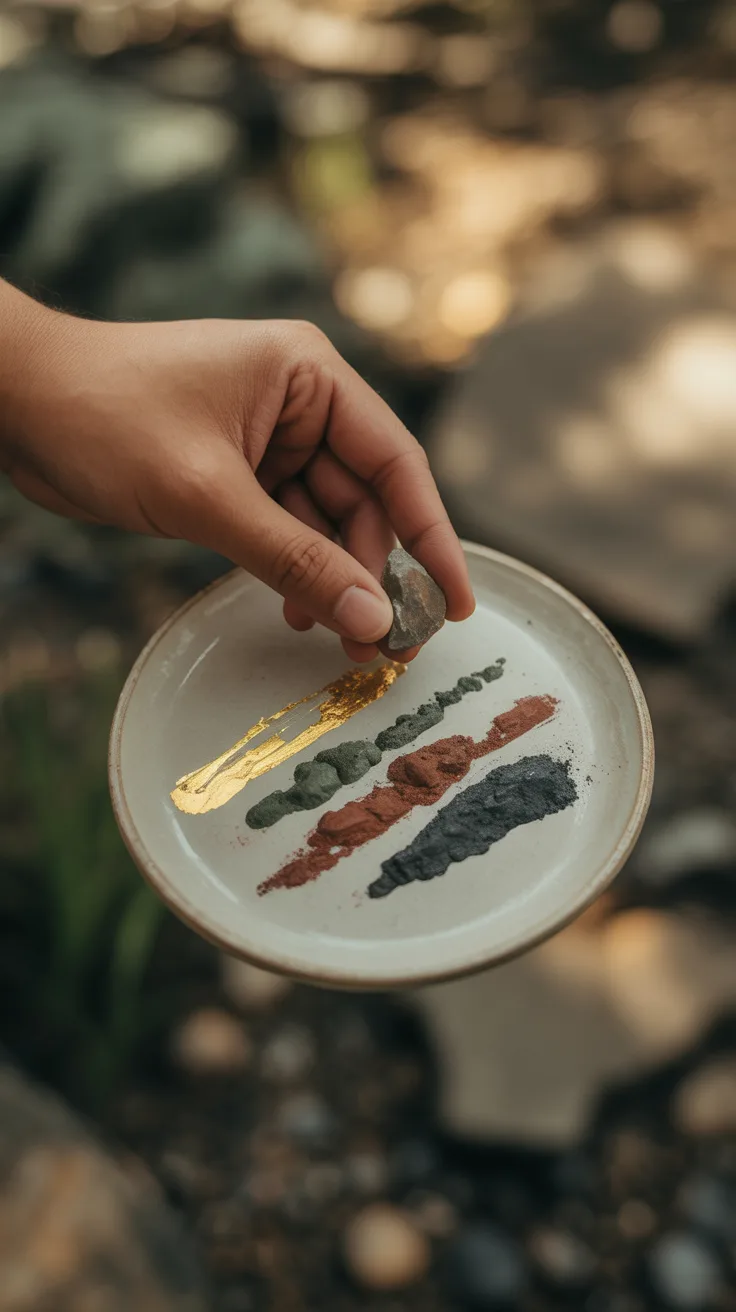
Surface color can change because of weathering, oxidation, or staining, but a mineral’s streak usually remains consistent. The streak is the color of the powdered mineral left behind after rubbing it across unglazed porcelain.
Simply drag the specimen firmly across a streak plate and examine the color of the powder.
- Gold leaves a golden-yellow streak.
- Pyrite leaves a greenish-black streak.
- Hematite leaves a reddish-brown streak.
- Magnetite produces a black streak.

View on AmazonAs an Amazon Associate, I earn from qualifying purchases.

View on AmazonAs an Amazon Associate, I earn from qualifying purchases.
This simple test can quickly separate minerals that look nearly identical on the outside.
A streak plate is one of the most useful tools for identifying valuable rocks.
4. Examine the Rock’s Luster
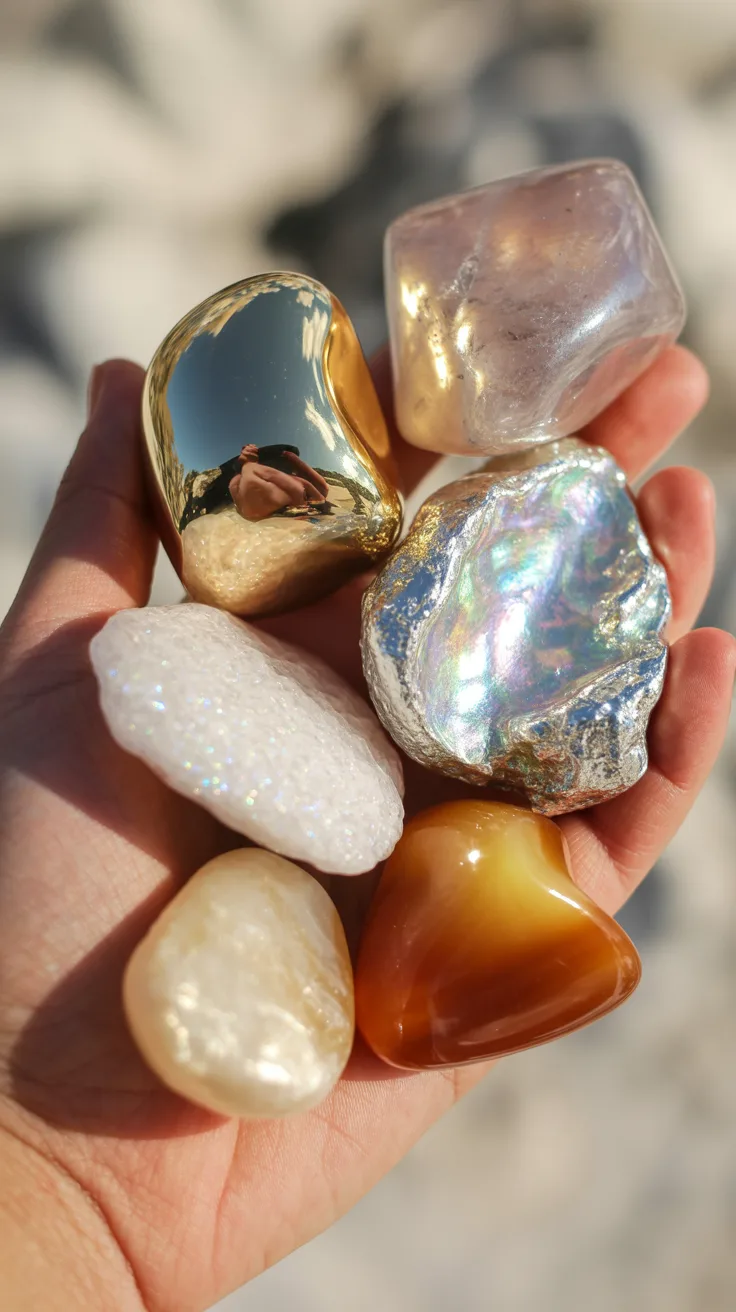
Luster describes how light reflects from the surface of a mineral and is one of the easiest characteristics to evaluate in the field. A freshly broken surface often provides the most accurate results because weathering can dull the outside of a rock.
| Luster Type | Appearance | Common Minerals |
|---|---|---|
| Metallic | Bright like polished metal | Gold, Pyrite, Galena |
| Vitreous | Glassy or shiny | Quartz, Garnet, Tourmaline |
| Pearly | Soft iridescent glow | Mica, Talc |
| Silky | Fine fibrous sheen | Gypsum, Satin Spar |
| Resinous | Looks like tree resin | Amber, Sphalerite |
| Dull | Very little reflection | Clay, Limonite |
Compare the luster with known mineral examples before making a final identification. Luster combined with hardness and streak testing provides a much more accurate identification than color alone.
5. Measure Specific Gravity
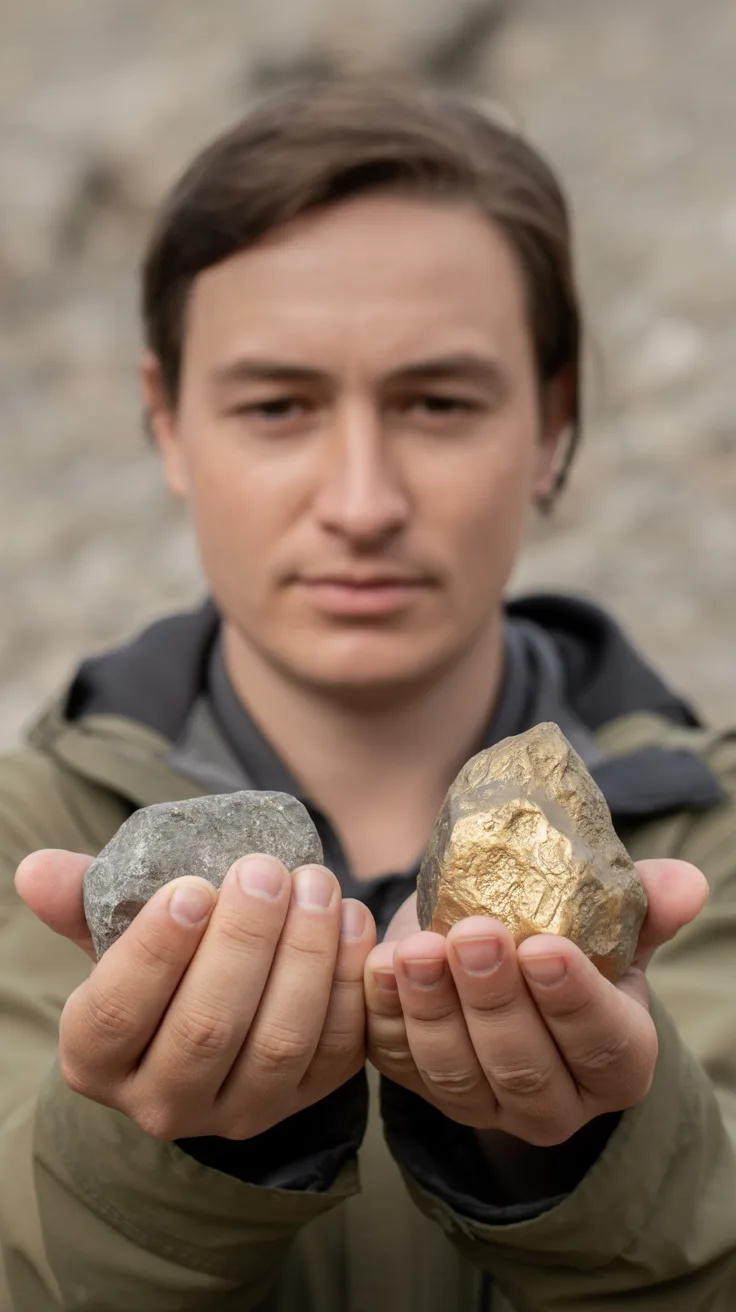
Specific gravity measures how heavy a rock feels compared to its size. Dense minerals such as gold, galena, and magnetite often feel surprisingly heavy, making this one of the quickest ways to narrow down possible identifications.
Begin with a simple heft test by comparing the unknown specimen to another rock of similar size. If the specimen feels noticeably heavier, it may contain dense minerals worth investigating further.
For greater accuracy, weigh the rock dry and then weigh it while suspended in water. Comparing these two measurements allows the specific gravity to be calculated and compared with published mineral data.
- Quartz — approximately 2.65
- Pyrite — approximately 5.0
- Magnetite — approximately 5.2
- Galena — approximately 7.5
- Gold — approximately 19.3
Although two minerals may look similar, their density can be dramatically different, making specific gravity one of the most reliable confirmation tests.
6. Look for Crystal Structures and Unique Features
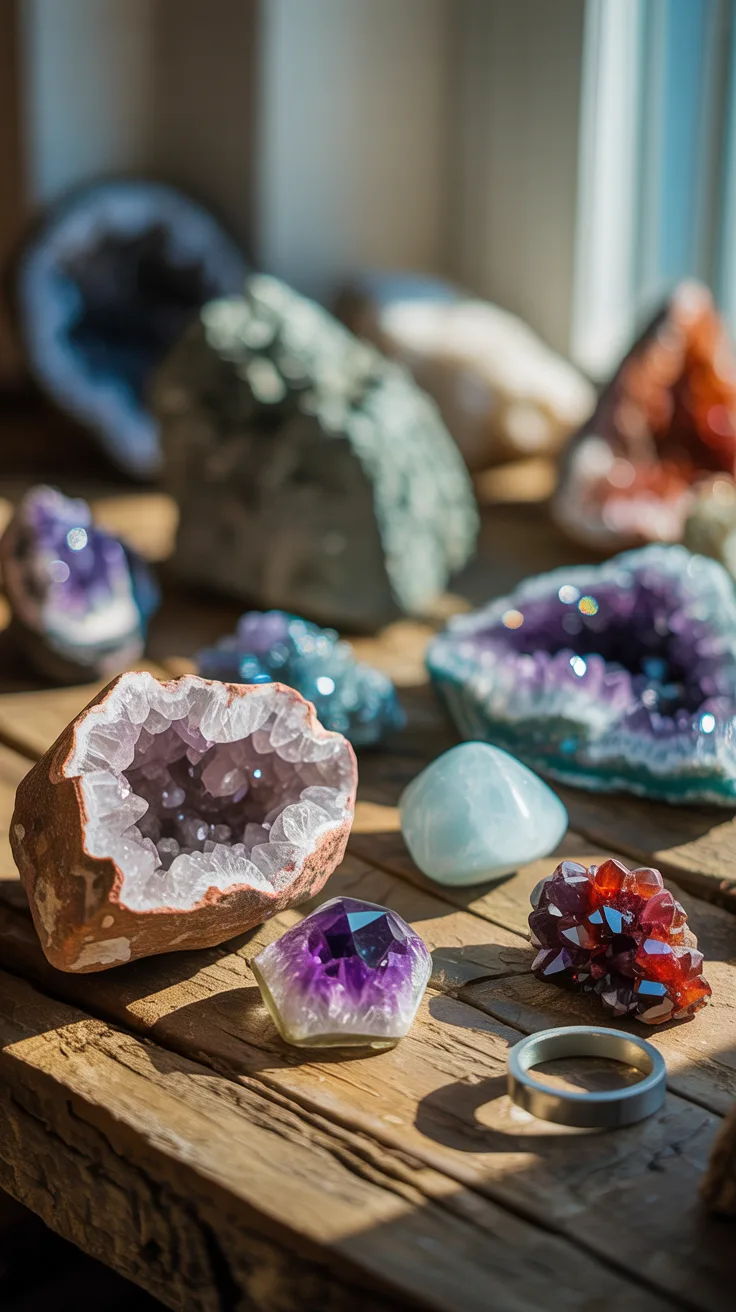
Many valuable rocks can be identified by carefully examining crystal shapes, internal patterns, and other unique characteristics. Taking a few extra minutes to inspect a specimen often reveals details that are impossible to notice at first glance.
Look closely for features such as:
- Well-defined crystal faces.
- Color banding or zoning.
- Transparent or translucent areas.
- Mineral inclusions trapped inside crystals.
- Geodes or crystal-lined cavities.
- Fossils or unusual organic patterns.
- Naturally formed hexagonal or cubic crystal shapes.
Quartz geodes, agates, amethyst, fluorite, and garnets often display distinctive crystal formations that make identification much easier.
A 10x jeweler’s loupe helps reveal crystal details that are difficult to see with the naked eye.
Beginner Tip: Examine specimens under bright natural light instead of indoor lighting to see color variations and crystal faces more clearly.
7. Test for Acid Reactivity

Some minerals react with acid, making this one of the fastest ways to identify carbonate rocks such as limestone, marble, and calcite. This simple test is commonly used by geologists because it provides immediate results.
Place one small drop of diluted hydrochloric acid or white vinegar on a clean section of the rock. Watch closely for bubbling or fizzing, which indicates the release of carbon dioxide gas.
- Strong bubbling usually indicates calcite or limestone.
- Weak bubbling may suggest dolomite.
- No reaction generally means the rock is not carbonate-based.
Perform this test only on a small, hidden area to avoid damaging attractive specimens. Always wear safety glasses and gloves when working with acids.
Beginner Tip: White vinegar is a safer alternative for beginners and often produces enough reaction to identify many carbonate rocks.
8. Check for Magnetism
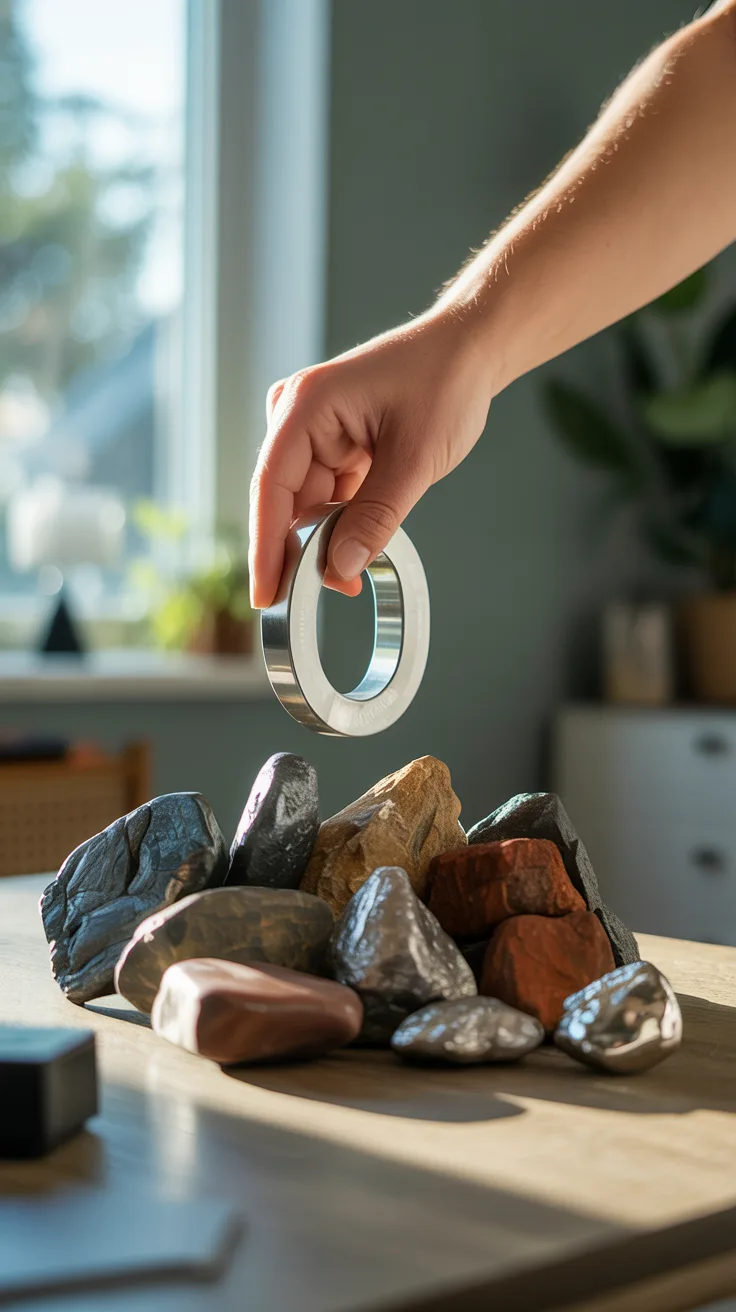
A magnet can quickly identify rocks that contain iron-rich minerals. Although not every valuable rock is magnetic, this simple test helps narrow the list of possible minerals within seconds.
Use a rare earth magnet instead of a standard refrigerator magnet because it is much stronger and can detect weaker magnetic minerals.
Minerals that often respond to magnets include:
- Magnetite
- Pyrrhotite
- Some hematite specimens
- Iron meteorites
If the specimen strongly attracts a magnet and also feels unusually heavy, it may be worth performing additional identification tests. Some meteorites and iron-rich minerals can have significant collector value.
A rare earth magnet is an inexpensive tool for identifying iron-rich rocks and minerals.
9. Compare Your Find with Trusted Resources
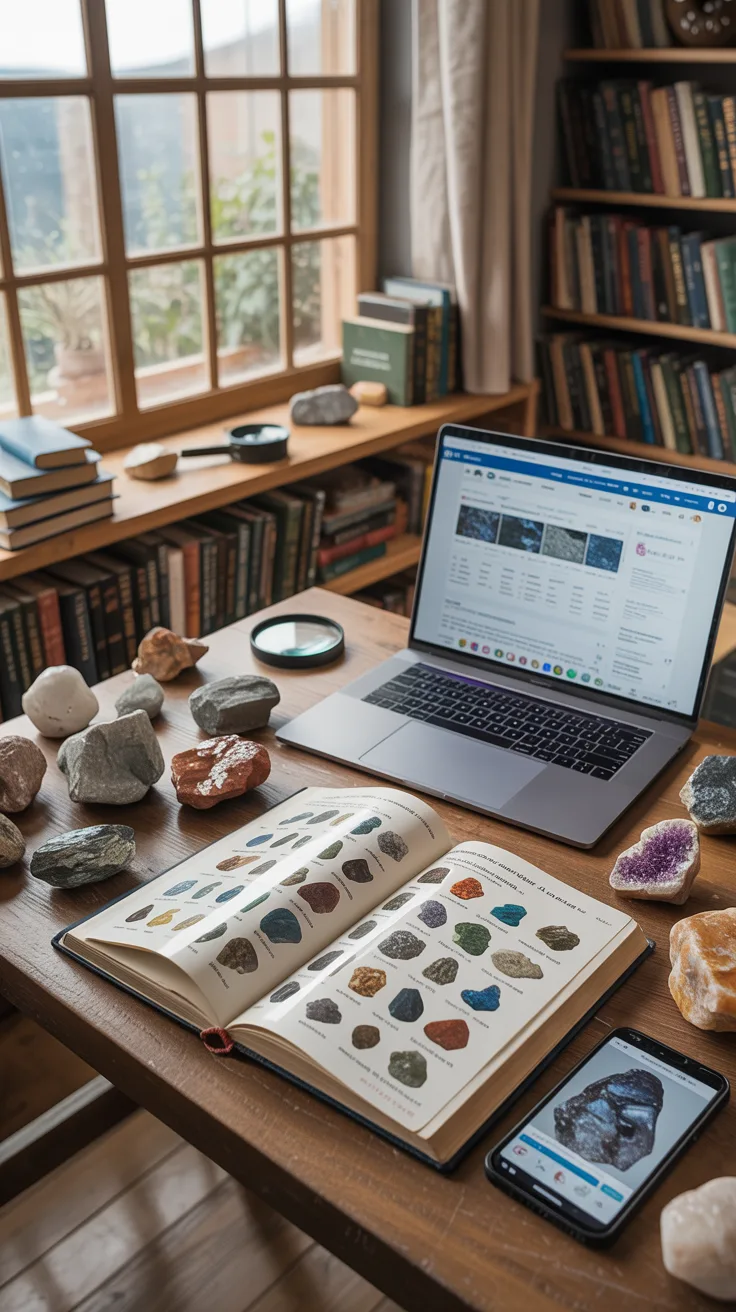
Even experienced rockhounds compare their finds with reference materials before making a final identification. Using multiple resources greatly improves accuracy and helps avoid confusing similar-looking minerals.
Helpful identification resources include:
- Printed rock and mineral field guides.
- Local geology clubs and mineral societies.
- University geology departments.
- Online mineral databases.
- Rock and mineral identification forums.
When requesting help online, include clear photographs from multiple angles along with information about the collection location, hardness, streak color, magnetism, and any other tests already performed. Providing complete information allows experienced collectors to narrow down the possibilities much faster.
A rock and mineral field guide is one of the best references for identifying specimens in the field.
10. Document and Verify Every Discovery
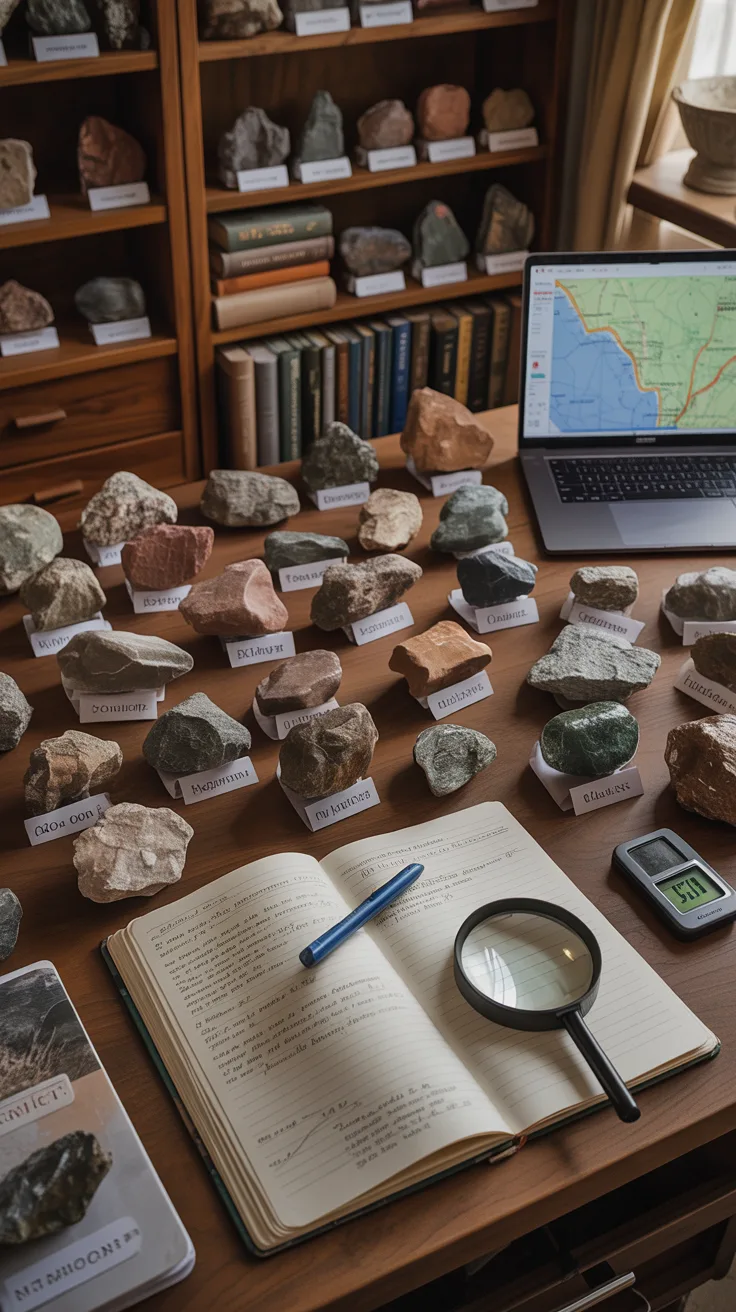
Keeping detailed records makes every collection more valuable and helps track productive collecting locations for future trips. Good documentation is especially important when selling specimens or submitting unusual finds for professional identification.
Create a record for every specimen that includes:
- Date collected.
- GPS coordinates or collection location.
- Rock type and surrounding geology.
- Photographs from several angles.
- Hardness, streak, luster, and magnetism results.
- Specific gravity measurements if available.
- Any expert identification or laboratory results.
Store each specimen in labeled containers or display cases so valuable information isn’t lost over time. A well-documented collection is far more useful for research, trading, insurance, and resale than unlabeled rocks.
A rock specimen storage box keeps valuable finds organized and protected.
Frequently Asked Questions
How can beginners identify valuable rocks?
Start by identifying the rock type before testing hardness, streak color, luster, magnetism, and specific gravity. Combining several identification methods produces much more reliable results than relying on color or appearance alone.
What tools are most useful for rock identification?
Basic tools include a Mohs hardness kit, streak plate, 10x jeweler’s loupe, rare earth magnet, field guide, small digital scale, and a notebook for recording test results. These inexpensive tools can identify many common rocks and minerals without specialized laboratory equipment.
Does a shiny rock mean it’s valuable?
No. Many common minerals such as mica and pyrite have attractive shiny surfaces but are relatively common. Valuable rocks are identified by examining several physical properties together rather than appearance alone.
Can valuable rocks be found in rivers and creeks?
Yes. Rivers naturally concentrate dense minerals such as gold, garnets, magnetite, and other heavy minerals. Gravel bars, inside bends, and exposed bedrock are often productive places to search after periods of high water.
How can gold be distinguished from pyrite?
Gold is soft, heavy, malleable, and leaves a yellow streak, while pyrite is brittle, lighter in weight, and produces a greenish-black streak. Performing a hardness test and streak test together usually separates the two minerals quickly.
Should every unusual rock be professionally identified?
Most rocks can be identified using basic field tests and reference guides, but specimens that appear rare, contain unusual crystals, or may have significant value are worth having examined by a geologist, mineral club, or qualified appraiser.
Conclusion
Learning how to identify valuable rocks takes practice, but following a systematic process makes the hobby much more rewarding. Rather than relying on color alone, experienced collectors examine hardness, streak, luster, density, crystal structure, magnetism, and other physical properties before reaching a conclusion.
Using the right tools, documenting each discovery, and comparing results with trusted references will steadily improve identification skills while helping build a collection of interesting and potentially valuable specimens. Every trip into the field becomes an opportunity to discover something new, whether it’s a beautiful quartz crystal, an agate, a fossil, or even a piece of native gold.
A complete rock and mineral identification kit is a great addition to any rockhound’s field gear.