
Introduction
There’s something magical about walking along a riverbed or hiking through volcanic terrain and spotting that telltale glimmer of a potential agate. I still remember my first successful find—a palm-sized beauty with stunning blue and white bands that I almost mistook for an ordinary rock. That moment hooked me on agate hunting for life.
Over the years, I’ve learned that identifying agate in the field isn’t as difficult as it might seem, but it does require knowing what to look for. Whether you’re a seasoned rockhound or just getting started with this rewarding hobby, understanding the key characteristics of agate will dramatically improve your success rate. In this guide, I’ll share seven proven methods I use every time I’m out hunting, along with some hard-earned lessons from my own mistakes.

Understanding Agate Characteristics
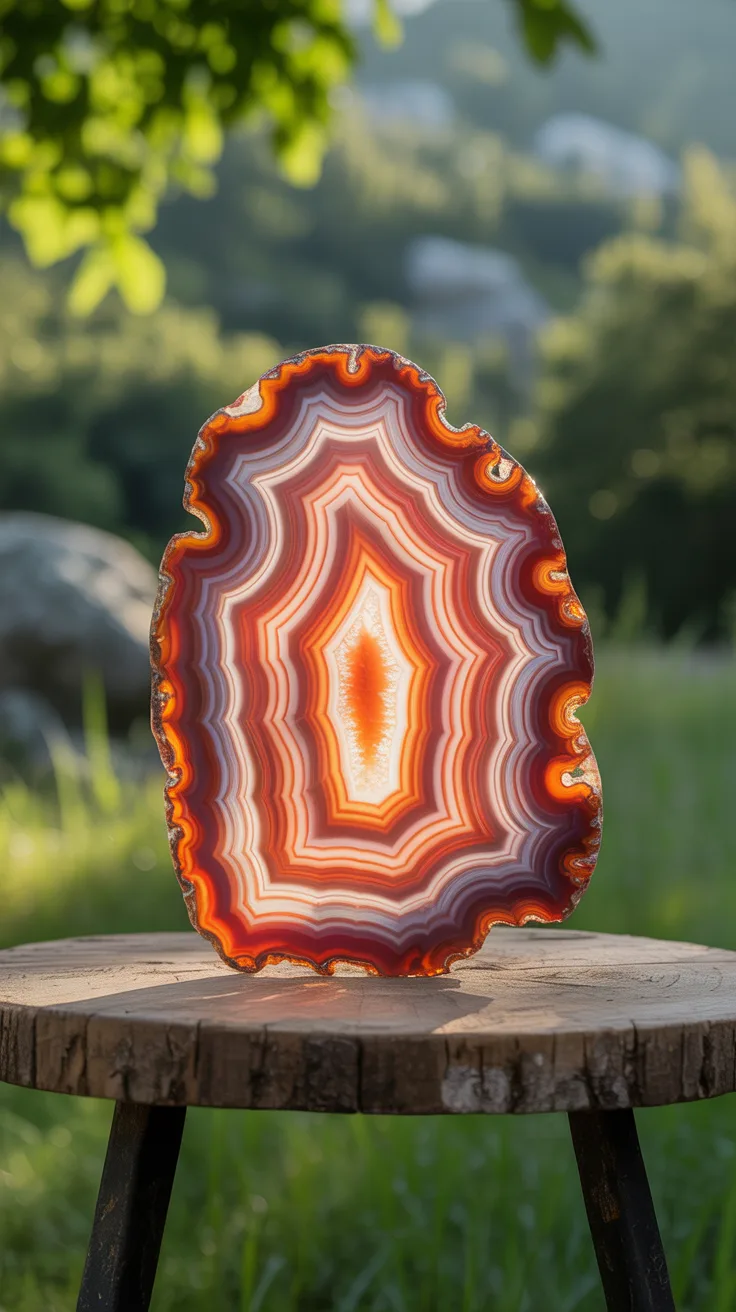
Before we dive into specific identification techniques, let’s establish what makes agate unique. Agate is a variety of chalcedony, which itself is a microcrystalline form of quartz. This means the crystal structure is so fine that you can’t see individual crystals with the naked eye, giving agate its characteristic smooth, waxy appearance.
What sets agate apart from other chalcedony varieties is its distinctive banding patterns, formed over millions of years as silica-rich water deposited layer upon layer within cavities in volcanic rock. Each band represents a different period of mineral deposition, creating those beautiful concentric or parallel lines we all love.
I made the rookie mistake early on of assuming all pretty, colorful stones were agates. Trust me, once you understand the fundamental properties—translucency, banding, hardness, and formation environment—you’ll save yourself from bringing home a bag full of interesting but ultimately ordinary rocks.

View on AmazonAs an Amazon Associate, I earn from qualifying purchases.

View on AmazonAs an Amazon Associate, I earn from qualifying purchases.
Pro Tip: Always carry a reference photo on your phone showing classic agate characteristics. When you’re uncertain about a find, comparing it to a known specimen can help clarify your identification.
Examining Color Patterns to Identify Agate
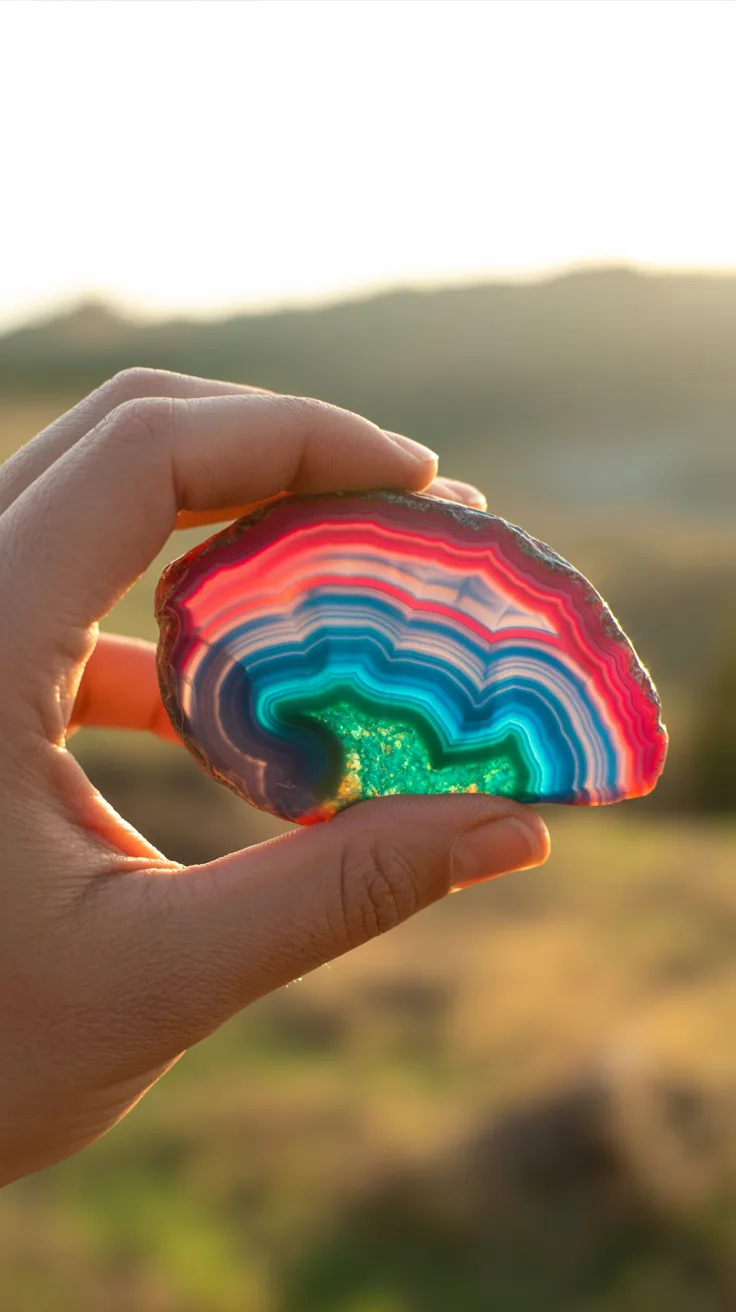
One of the most exciting aspects of agate hunting is the incredible variety of colors you might encounter. Agates can display virtually any color in the rainbow, from subtle earth tones of brown, tan, and gray to vibrant reds, blues, greens, and even purples. The key is understanding how these colors present themselves.
When examining potential agates, look for these color characteristics:
- Layered color zones: Colors should appear in distinct layers rather than randomly scattered
- Gradual transitions: Adjacent color bands often blend smoothly into each other
- Consistency within bands: Each individual band typically maintains uniform color throughout its length
- Natural color variations: Authentic agates show subtle variations that artificial stones lack
I once passed over what turned out to be a stunning fire agate because its exterior was covered in a dull, brownish rind. The lesson? Don’t judge an agate by its outer appearance alone. Many of the best specimens look unremarkable until you examine them more closely or see a broken edge.

View on AmazonAs an Amazon Associate, I earn from qualifying purchases.

View on AmazonAs an Amazon Associate, I earn from qualifying purchases.
Pro Tip: Wet the surface of a potential agate with water or saliva—this temporarily enhances the colors and patterns, giving you a preview of what the stone might look like when polished.
Checking for Translucency
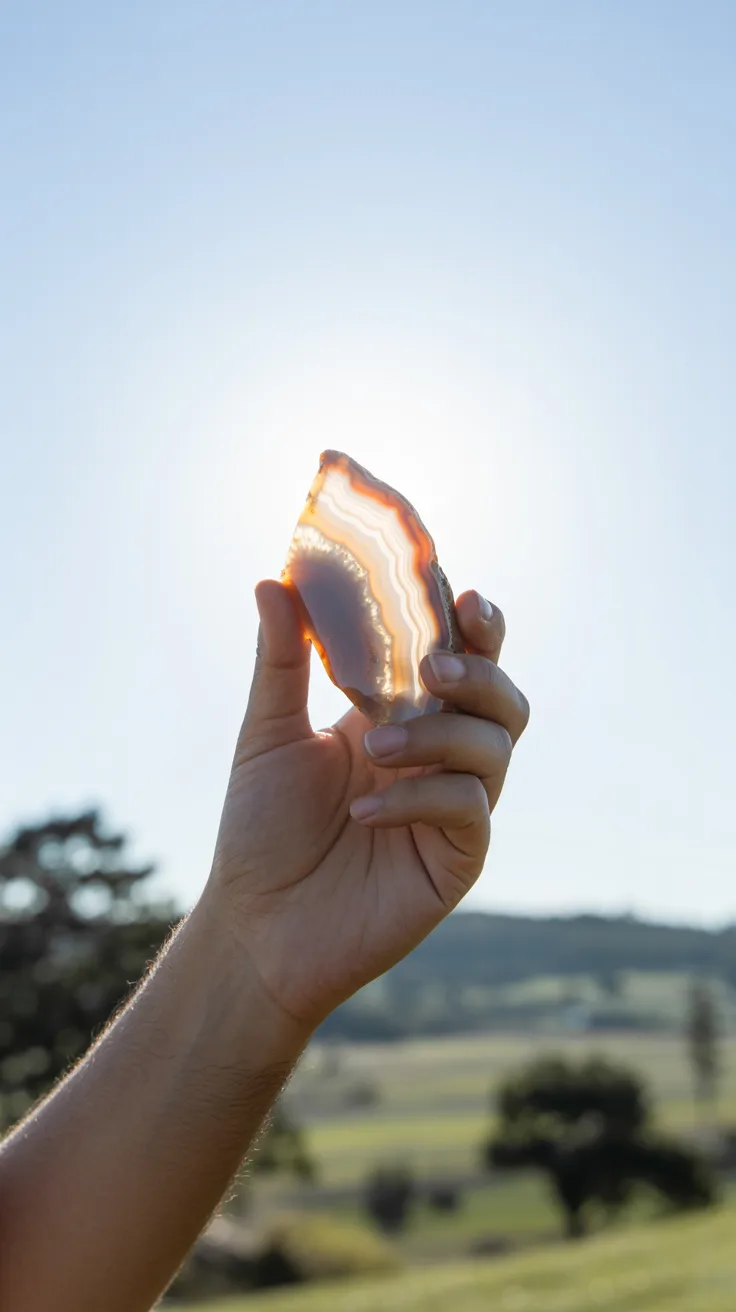
Translucency is one of the most reliable indicators when identifying agate in the field. Unlike opaque stones such as jasper, true agate allows light to pass through at least some portions of the stone. This property results from agate’s fine crystalline structure and relatively pure silica composition.
To test for translucency, hold the specimen up to a bright light source—sunlight works perfectly. You should see light penetrating the stone, even if only around the thinner edges. The interior may reveal shadowy patterns or glowing bands that aren’t visible under normal lighting conditions.
I carry a small LED flashlight specifically for this purpose. Pressing it against the back of a stone in shaded conditions gives you an instant read on translucency. Some of my best finds have been stones that looked completely ordinary until I performed this simple test and watched them light up like stained glass.
Keep in mind that translucency varies significantly among agates. Some specimens are nearly transparent, while others only show translucency at their thinnest points. Heavy inclusions or certain mineral impurities can also reduce translucency without disqualifying a stone as agate.
Looking at Banding Patterns
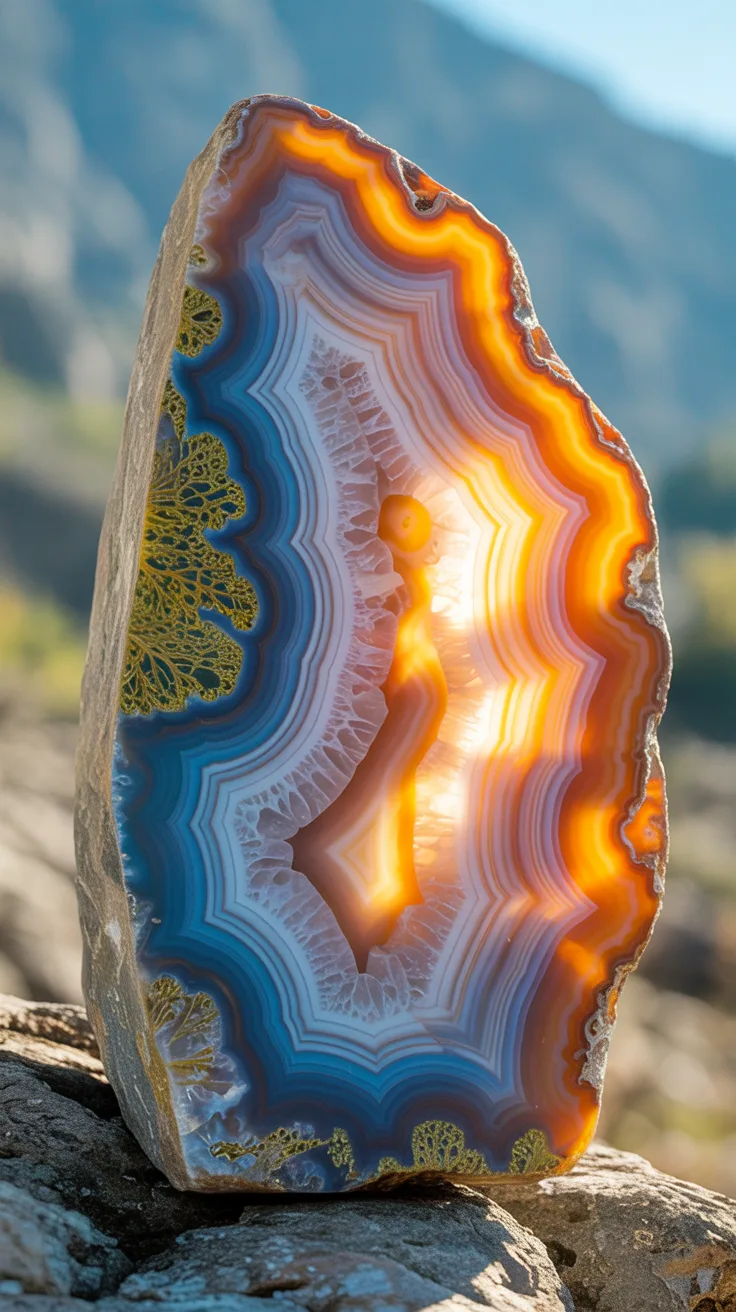
Banding is perhaps the most iconic feature of agate and often the easiest characteristic to spot. These bands form as successive layers of silica are deposited within rock cavities, creating patterns that can be concentric (like tree rings), parallel, or even chaotic in appearance.
When examining banding, consider these identifying features:
- Concentric banding: Rings that follow the shape of the original cavity, common in nodular agates
- Fortification banding: Angular, fortress-like patterns that create dramatic geometric designs
- Parallel banding: Straight, horizontal layers often seen in agates formed in flat cavities
- Moss or plume patterns: Dendritic inclusions that create plant-like appearances within the agate
Not all agates display obvious banding on their exterior. Weathering and the outer rind can obscure these patterns entirely. I’ve learned to look for any exposed edges or fracture surfaces where banding might be visible. Sometimes a small chip or natural break reveals the treasure hidden inside.
Pro Tip: The spacing and regularity of bands can indicate formation conditions. Tightly spaced, regular bands often suggest slow, steady deposition and typically result in higher-quality specimens.
Assessing Hardness
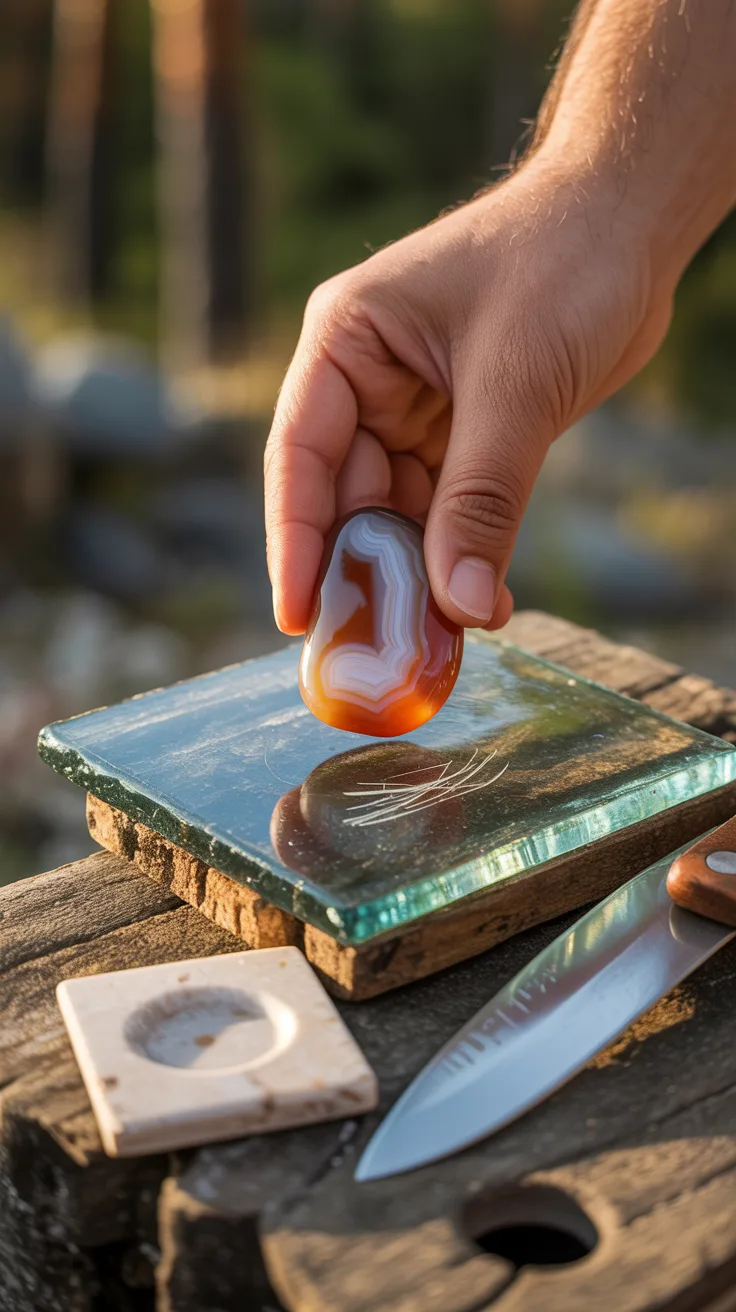
Agate, like all quartz varieties, registers a 7 on the Mohs hardness scale. This makes it harder than most common materials you’ll encounter in the field, providing a useful identification test. A genuine agate will scratch glass, steel, and most other rocks you might confuse it with.
To perform a hardness test, find an inconspicuous spot on your specimen and attempt to scratch a piece of glass (an old bottle works well) or a steel knife blade. If the stone leaves a scratch on the glass, you’re likely dealing with quartz-family material. Conversely, if the glass scratches the stone, it’s probably something softer like calcite or fluorite.
I always carry a small piece of unglazed porcelain tile in my pack for streak testing. While agate itself leaves a white streak (not particularly diagnostic), this test helps rule out other minerals that might have similar appearances but different streak colors.
One word of caution: be gentle with potential specimens. I’ve accidentally damaged a few nice pieces by being too aggressive with hardness testing. A light scratch attempt is all you need—there’s no reason to gouge the stone.
Considering Location and Formation
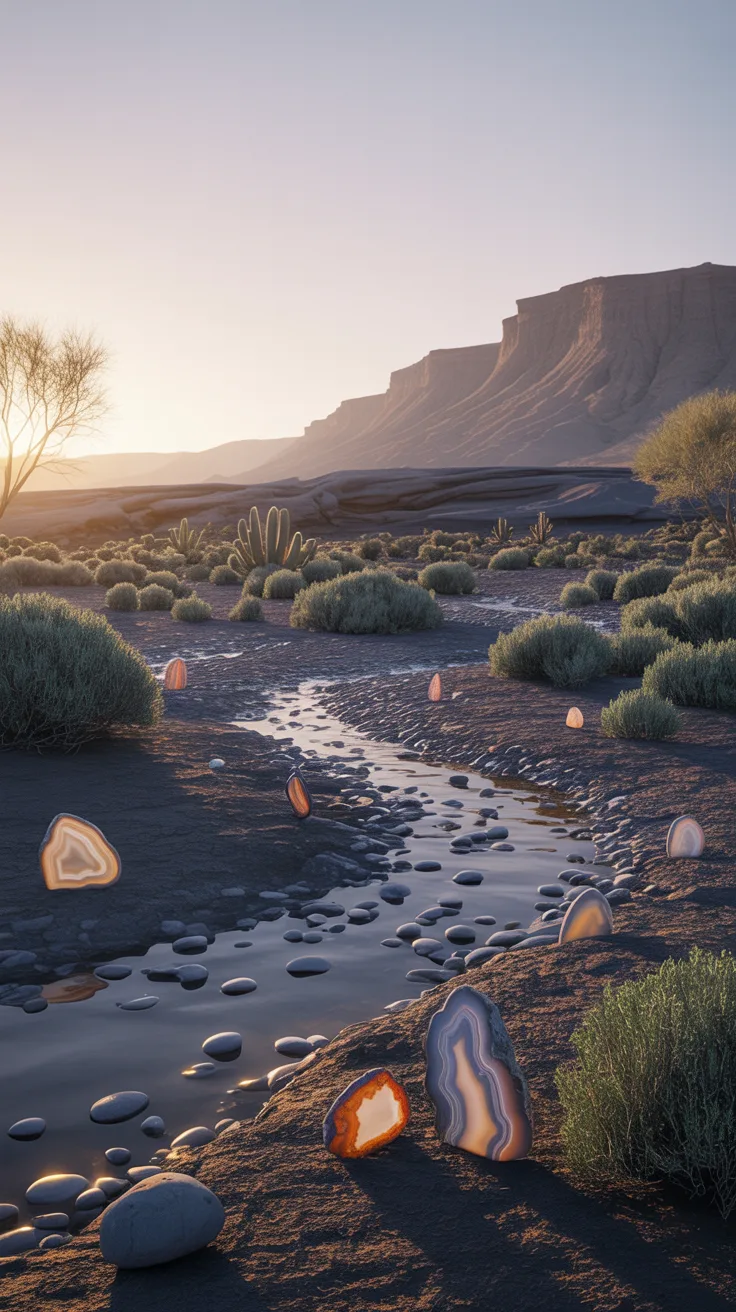
Understanding geology dramatically improves your agate-hunting success. Agates form primarily in volcanic environments, specifically in gas bubbles (vesicles) within cooling lava flows. Over time, silica-rich groundwater fills these cavities, depositing the layers that become agate.
Prime locations for finding agate include:
- Ancient lava flow regions
- Riverbeds and beaches that drain volcanic areas
- Gravel pits and road cuts exposing volcanic rock
- Desert regions with exposed volcanic formations
- Areas known for geode deposits
Before heading out, I always research the geological history of my target area. USGS maps and local rockhounding guides can point you toward productive hunting grounds. Some of my best hunting spots are riverbeds downstream from known volcanic formations—erosion does the hard work of freeing agates from their host rock and concentrating them in gravel bars.
Weather and seasonal timing matter too. I’ve had my best luck after heavy rains or during spring runoff when fresh material gets exposed. Winter frost-heave can also bring new specimens to the surface in areas with freeze-thaw cycles.
Using Tools for Identification
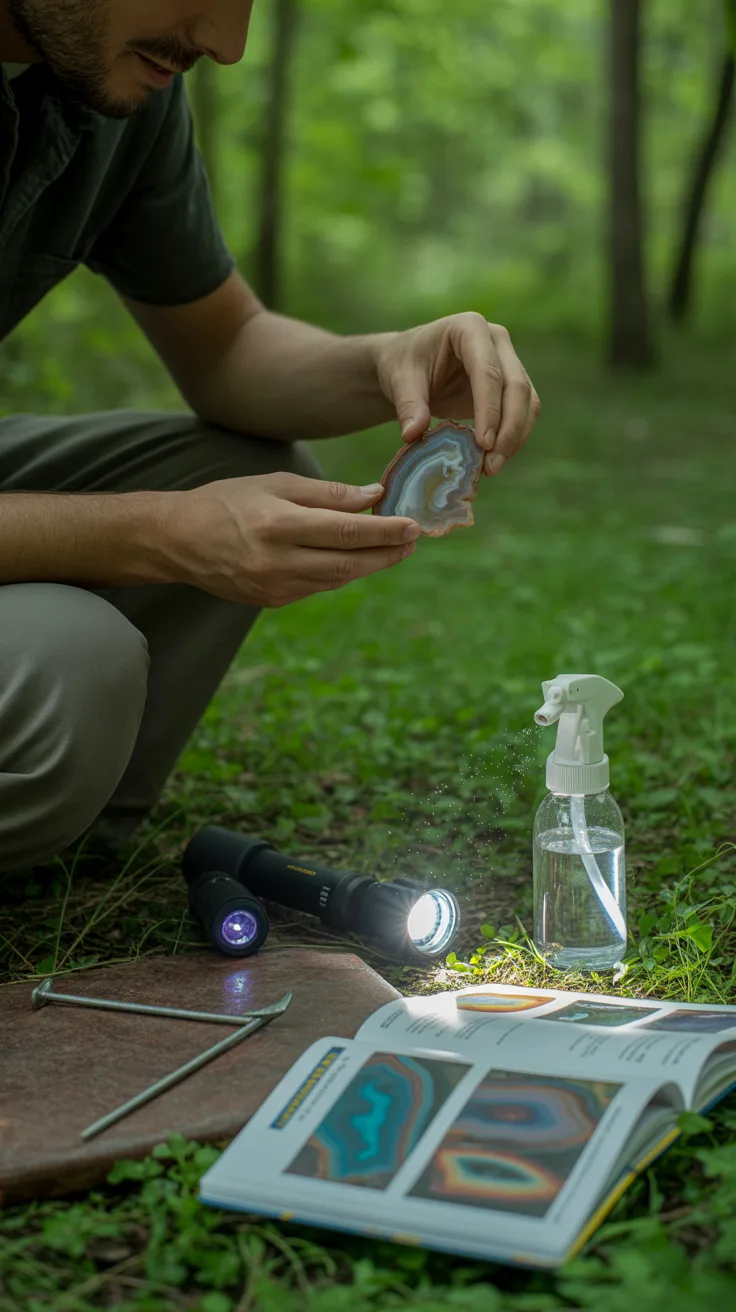
While experienced collectors can often identify agate by sight alone, having the right tools makes field identification much more reliable. You don’t need to carry a geology lab in your backpack, but a few key items can make all the difference.
Essential tools for agate identification include:
- Hand lens (10x magnification): Reveals fine banding and surface details invisible to the naked eye
- LED flashlight: Essential for translucency testing, especially in shaded areas
- Spray bottle with water: Enhances colors and patterns for quick assessment
- Steel nail or knife: Useful for hardness testing
- Reference guide or photos: Helps compare finds against known specimens
I’ve also started carrying a small UV flashlight, which can reveal fluorescence in certain agate varieties. While not all agates fluoresce, those that do put on quite a show under ultraviolet light, and this property can help distinguish them from similar-looking materials.
Pro Tip: Invest in a quality hand lens with good optics. Cheap magnifiers often have distortion that makes detailed examination frustrating. A good 10x loupe will serve you for years and dramatically improve your identification accuracy.
Frequently Asked Questions
What is the difference between agate and jasper?
The primary difference lies in translucency. Agate is translucent to some degree and typically displays banding patterns, while jasper is completely opaque and usually lacks banding. Both are forms of chalcedony, but their different formation conditions create distinct appearances. When in doubt, hold the specimen up to a strong light—if any light passes through, it’s likely agate.
Can agate be found in any type of rock?
Agate is most commonly found in volcanic rocks, particularly basalt, where it forms in gas vesicles. However, it can also occur in some sedimentary environments where silica-rich water has flowed through cavities. Limestone and certain sandstones occasionally host agate deposits, though volcanic settings remain the most productive hunting grounds.
How can I polish agate at home?
The easiest method is using a rock tumbler, which takes several weeks but produces excellent results with minimal effort. For hand polishing, start with coarse sandpaper (around 220 grit) and progressively work through finer grits (400, 600, 1000, then 2000) before finishing with polishing compound. Patience is key—rushing the process leads to scratched, unsatisfying results.
Is there a specific season for finding agate?
Agates can be found year-round, but certain conditions improve your chances. Spring and fall often provide ideal hunting conditions, with recent rains or snowmelt exposing fresh material. After storms, beaches and riverbeds frequently reveal new specimens. Winter hunting can be productive in areas where frost-heave brings stones to the surface.
Do agate colors affect their value?
Absolutely. Rare colors like deep blues, vibrant reds, and unusual combinations command higher prices among collectors. However, value also depends on pattern quality, translucency, size, and overall visual appeal. A well-banded specimen in common colors may be worth more than a poorly formed piece in a rare hue. Ultimately, the “best” agate is one that speaks to you personally.